


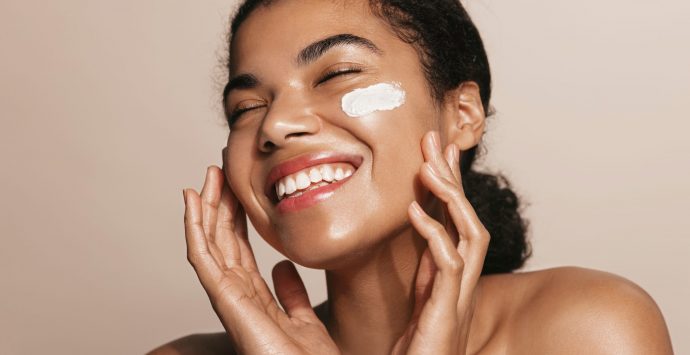

The hottest nail trend on the block is marble nails.
Before you panic and start messaging your nail tech for the first available appointment, the good news is that you can master this rather professional-looking trend whilst sitting on your sofa!
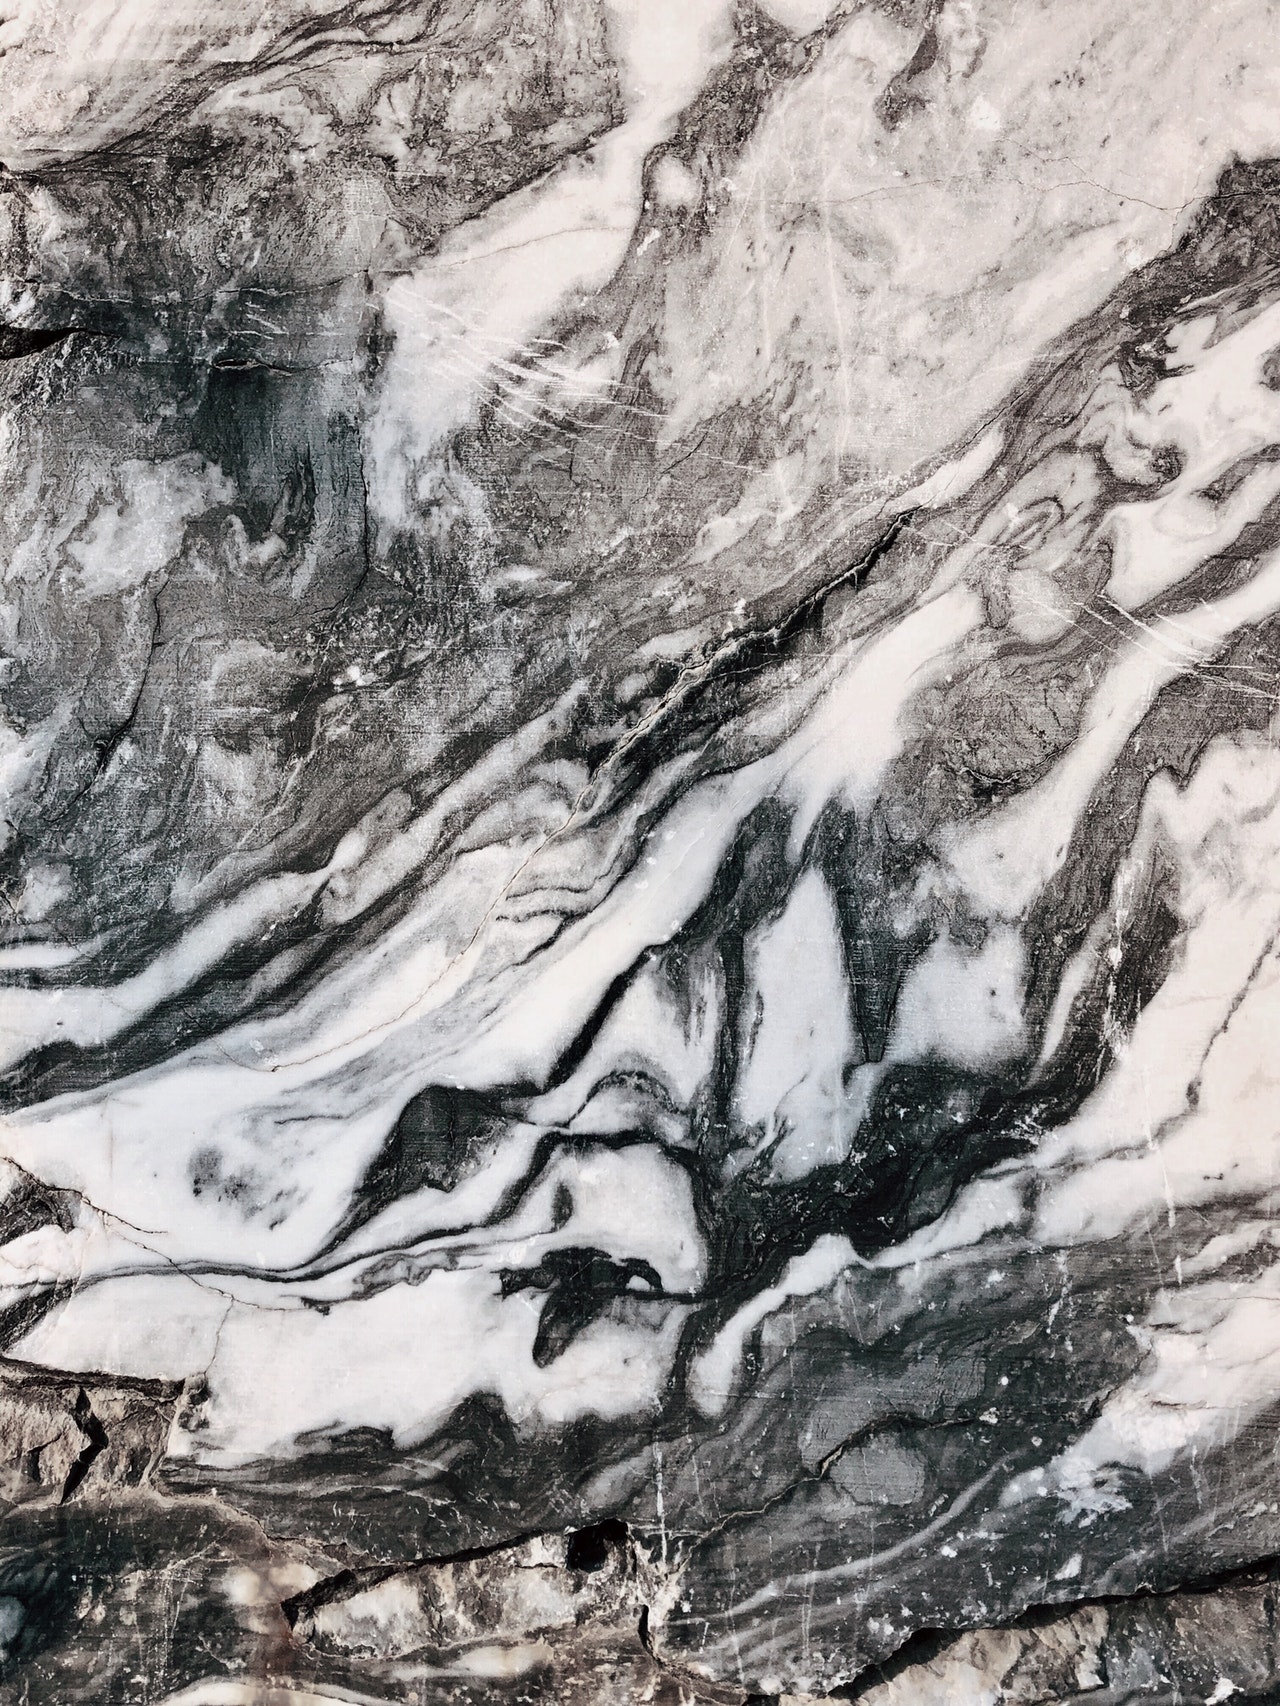
All you need are a few tools and a steady hand to create the iconic black and white marble effect currently adorning the nails of celebrities everywhere.
What You Will Need:
- Nail file
- Nail buffer
- Isopropyl alcohol solution
- A thin nibbed pen, e.g. black (a Sharpie is perfect)
- Top and base coats
- White nail polish
- A spare, clean nail polish brush
How to Create Marble-Look Nails
We mentioned sitting on your sofa, but in reality that’s not the best place to try nail art! You need a flat surface so you can lean your elbow down for a steady hand. Lay down a towel to catch any random blobs of polish and arrange everything you need.
- Remove all remants of any old nail polish, especially any random pieces of glitter which will make this particular style quite diffcult to master
- File your nails to your liking and buff over the whole nail
- Give your nails a wipe over with some nail polish remover, to get rid of any oil or pieces of dust from the buffing
- Apply one coat of base coat and wait until it has competely dried
- Apply one coat of white polish and allow to completely dry, before applying another and waiting for that to dry also
- Take your black pen and carefully draw thin lines across your nail. It might help to Google an image of marbling and copy it, giving you an idea of where to go with your design
- Once the pen is dry take a clean nail polish brush and dip it into the Isopropyl, tapping any excess away
- Apply the Isopropyl to the lines you’ve just drawn in a haphazard manner, allowing them to break up and create that iconic marble look
- Allow everything to dry completley. If you want to add more marbling afterwards, you can layer it up, but make sure that the Isopropyl dries before drawing another set of lines
- When everything is totally dry, apply one coat of top coat and chill out for a minute whilst that dries too
Marble nails are not as difficult to create as they actually look, but you do need to be patient with drying time. If you try and move on with the next step before the nail has dried completely, everything will merge into one and it will be more mess than marble!